How To Restore Faded Stamped Concrete: A Step-by-Step Guide
Related Articles...
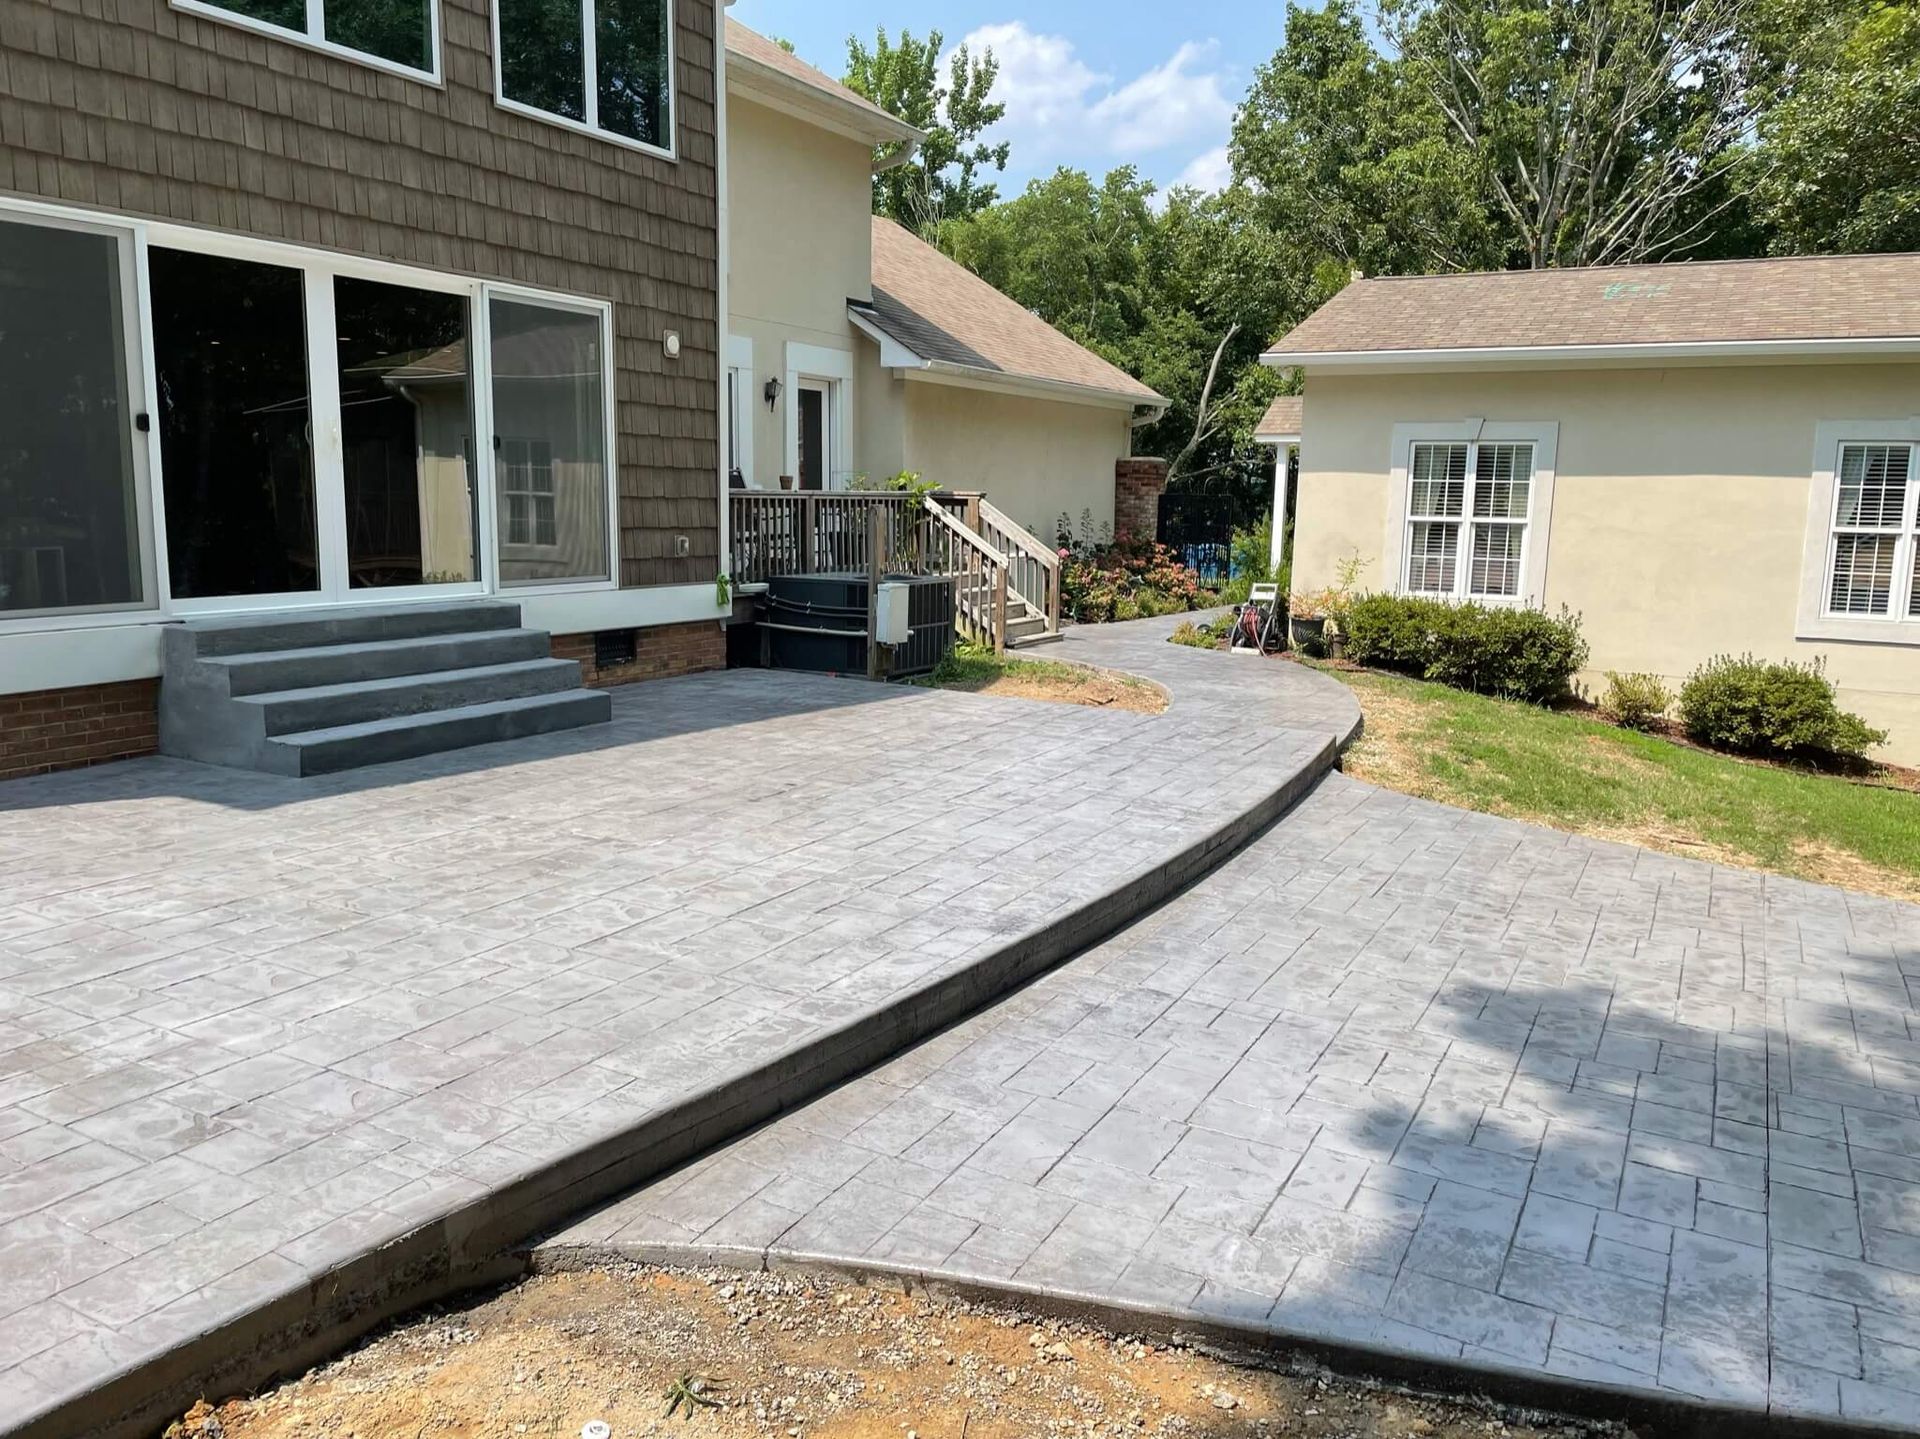
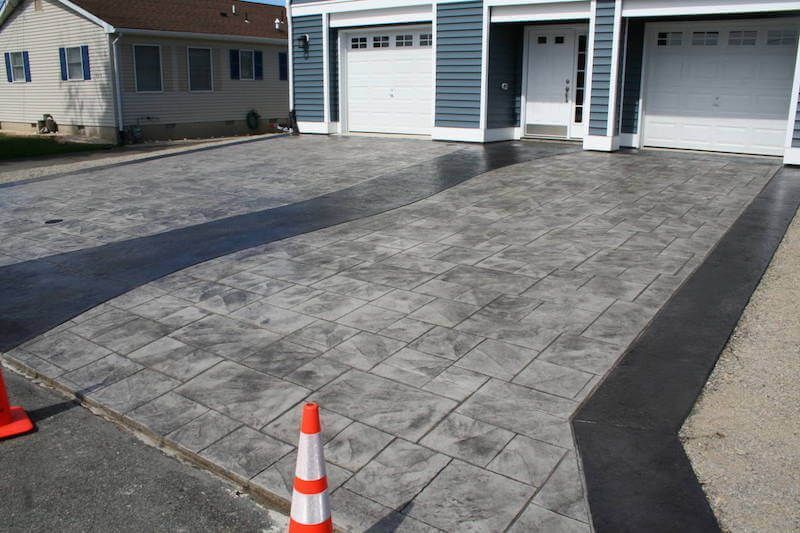
Stamped concrete is a popular choice for patios, driveways, pool decks, and walkways due to its durability and aesthetic appeal. Over time, however, stamped concrete can lose its vibrant color and appearance.
If your stamped concrete surface has faded, don't worry—restoring it is entirely possible. This guide will walk you through the common causes of concrete discoloration and provide step-by-step instructions to bring back the beauty of your surface.
Common Cause of Concrete Discoloration
- Exposure to Sunlight: UV rays can cause the color to fade.
- Weather Conditions: Rain, snow, and extreme temperatures can affect the color.
- Chemical Exposure: Harsh cleaning agents or de-icing salts can lead to discoloration.
- Wear and Tear: Foot traffic and other activities can dull the surface.
Steps to Recolor Faded Stamped Concrete
Time Needed: 1 Day
Restoring faded stamped concrete involves several crucial steps to ensure a lasting and even application of color. Follow these detailed instructions to rejuvenate your concrete surface effectively.
1. Clean the Surface
Objective: Ensure a clean, dry surface for optimal stain adhesion.
- Vacuuming: Start by using a wet/dry vacuum to remove loose dirt, dust, and debris from the surface. This step is essential because any residual dirt or debris can interfere with the stain’s ability to penetrate the concrete properly.
- Additional Cleaning: For more stubborn dirt or grime, consider using a mild detergent mixed with water and a stiff-bristle brush. Scrub the surface thoroughly, then rinse with clean water and allow it to dry completely. Ensure the surface is free from any soap residues.
- Drying: Ensure the concrete is entirely dry before proceeding. This may require several hours of drying time, depending on the weather conditions and the level of moisture in the concrete.
2. Prepare the Antiquing Stain
Objective: Ensure an even application of the stain.
- Remove Filters: Take out any filters from the pump-up sprayer. Filters can clog with dried stain or debris, leading to uneven application.
- Shake the Stain: Shake the Antiquing™ stain thoroughly before pouring it into the sprayer. This ensures that the pigments are well mixed and distributed evenly, preventing color inconsistencies.
- Pour into Sprayer: After shaking, carefully pour the stain into the sprayer. Follow the manufacturer's instructions for the appropriate amount and mixture.
3. Apply the Antiquing Stain
Objective: Achieve a uniform color application.
- Sprayer Technique: Use a pump-up sprayer to apply the stain. Start by spraying in slightly circular motions to avoid streaks. Ensure you overlap your spray paths irregularly to blend the color seamlessly.
- Shaking the Sprayer: Frequently shake the sprayer tank from side to side to prevent the pigment from settling at the bottom. This ensures a consistent color application throughout.
- Multiple Coats: Apply additional coats of stain while the first coat is still wet. This method helps achieve a deeper and more uniform color. Do not wait for the first coat to dry before applying subsequent coats, as this can result in uneven coloring.
4. Allow to Dry
Objective: Ensure proper drying to avoid smudging and achieve a durable finish.
- Drying Time: Allow the final coat of stain to dry for at least 8 hours. Drying times may vary based on temperature, humidity, and ventilation. Avoid walking on or disturbing the surface during this time.
- Check for Dryness: Ensure that the surface is completely dry before proceeding to the sealing step. The stain should be dry to the touch and should not come off on your hands.
5. Seal the Surface
Objective: Protect the stained surface and enhance its durability.
- Apply Sealer: Once the stain is fully dry, apply a solvent-based acrylic concrete sealer. The sealer will protect the color from fading because of UV exposure and weather conditions.
- Application Technique: Use a roller or sprayer to apply the sealer in even strokes. Follow the manufacturer's instructions for application techniques and coverage rates. Be sure to apply a uniform coat without over-applying, as excess sealer can lead to a cloudy finish.
- Curing Time: Allow the sealer to cure as per the manufacturer’s recommendations. This typically involves keeping the area dry and free of foot traffic for a specified period, often 24-48 hours.
By meticulously following these detailed steps, you can restore the vibrant appearance of your stamped concrete and ensure its longevity and visual appeal.
